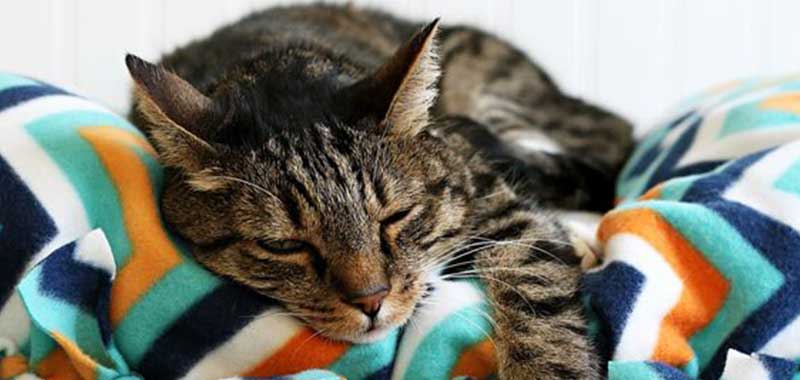
Every cat deserves a comfy cat bed and every cat owner wants the best for their cats. While there are hundreds of cat beds available on the market, some cats would still reject them no matter how expensive and how comfy they are. So cat owners decide to make their own DIY cat beds that suit their cat’s needs and preferences.
The possibilities are endless with a DIY bed, so why not explore those possibilities and make the best DIY bed for your cat?
Making a cat bed is not difficult at all. Now, you can make one at home easily and there are many DIY cat bed tutorials available on the internet for your ease. I have compiled the best of the top DIY beds you can build for your cat today:
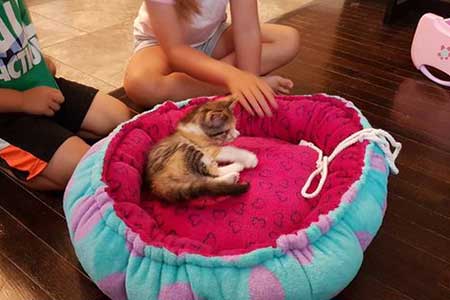
If you are new to sewing then this cat bed is just perfect for you because it is super easy to sew. You can get any fabric, fleece, or even a soft blanket. Get polyester fiber for filling and a ribbon or a rope. Cut two circles of the fabric according to the size of your pet. Put them together and sew them. After sewing them, turn the fabric upside down.
Then sew a circle in the center of the cloth and leave some space for filling. Fill some polyester fiber in the center and sew the area that was open. Then sew another circle line on the boundary so you can put a ribbon inside. Then finally fill the other circle with polyester fiber and then put the ribbon on the outside boundary circle and pull the ribbon for the desired look.
TADAA! Your cat’s bed is ready.
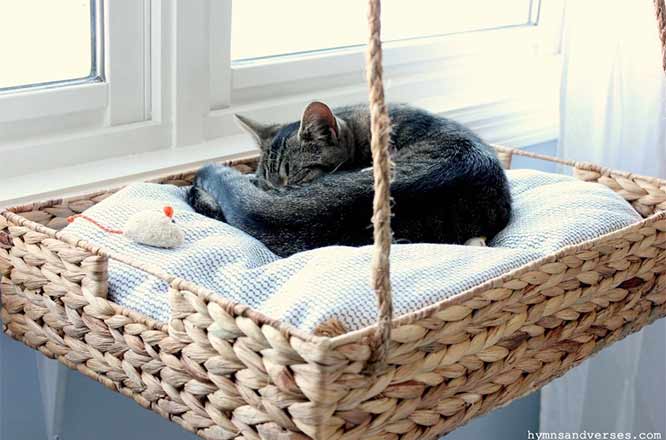
If a window is your cat’s favorite spot, then this DIY hanging bed basket is the best for your cat. You can buy any basket from the market or use any old basket. Attach brackets near the window and take a piece of plywood. Make holes in the plywood and screw with brackets.
Make little holes in the basket and use zip ties to attach the plywood to the basket. Trim the ends of the zip ties so it gives a good look to the basket. Make two holes on both sides of the basket and tie the basket to the roof. For a complete look, add a cozy blanket to the basket and watch your cat love the new cat basket. Here is an even more detailed tutorial for this DIY Bed for your cat.
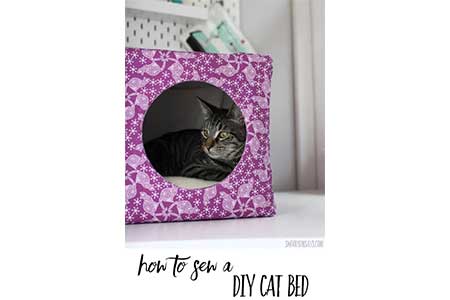
For this very very affordable Cardboard cat box/home, You would need 1 yard of fabric, 8 padded mailers, a rotary cutter, and thread for this cat bed.
Cut 12 equal squares of the fabric. Put two squares together and put a bowl over them to make a circle with a pencil. Then use the rotary cutter and cut the circle that you marked with the pencil. Place the wrong side out and sew a padded mailer carefully in it. Take the right side out. Then sew all the other squares by placing padded mailers and then take the right side out.
Then iron all the squares. You will get a total of 6 squares. Sew all the squares together to form a big square as shown in the picture. Your DIY cat bed is ready to be used. Do not forget to place a pillow inside the box so your cat can stay comfy and cozy.
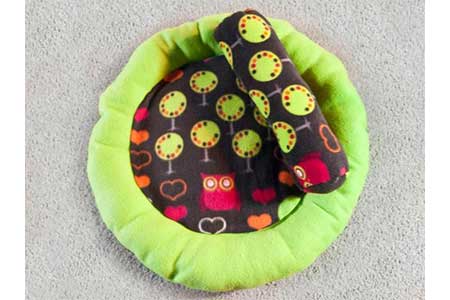
If your cat is a fluffy pillow lover then this is the right DIY cat bed you should try. Take any two different fabrics of your choice. Cut a circle for the middle and sew it as shown in the tutorial. Then cut another big circle that can fit the small circle. Then attach both circles and fill the polyester filling in it. Then make the round pillowcase and fill it with polyester filling and a cozy round cat bed with a bolster pillow is ready.
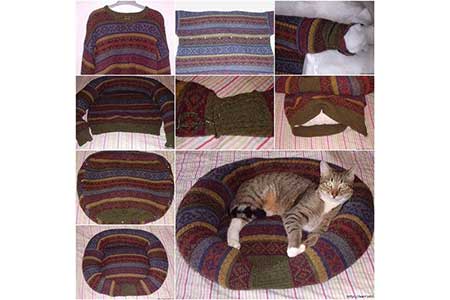
Who does not have an old and oversized sweater in their home? Looking to buy a new cat bed? Save your money and use your old sweater. Sew the neck area of your sweater from the top, the sew from one sleeve to the other so you get a straight sleeve. Then take a pillow or polyester fiber and fill in the center and stitch it. Then fill the sleeve with polyester fiber and sew the sleeve from where it is open and there you go, your cat bed is ready.
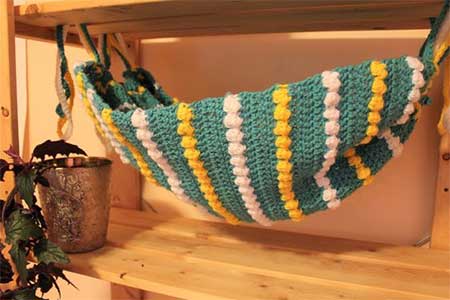
If you love crocheting then this DIY cat bed is for you. Take the crochet hooks and yarn and get started. Follow this tutorial if you do not know how to crochet. And if you are good at crocheting then you would not need to follow this tutorial. Once you are done making a piece, tie straps on all the sides and attach the DIY crocheted cat hammock wherever you want to.
If you do not want to crochet, you can use any old shirt or sweater, cut it and tie the straps and get the same look. This is how easy it is to make a DIY cat bed.
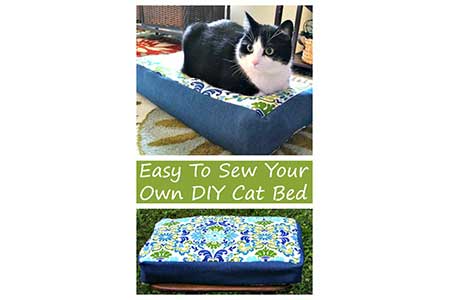
If your kitty loves comfy and fluffy beds then this DIY is going to be a big help for you. After making this easy-to-sew DIY cat bed, you can enjoy it on your bed and your kitty will enjoy it on her own bed. Take two different colors of fabric, cut them, and sew them together as shown in the tutorial. Sew a zip on the bottom side so you can add a pillow or polyester filling. After the zip is attached, add a pillow or polyester filling depending on your choice and your easy-to-sew DIY cat bed is ready.
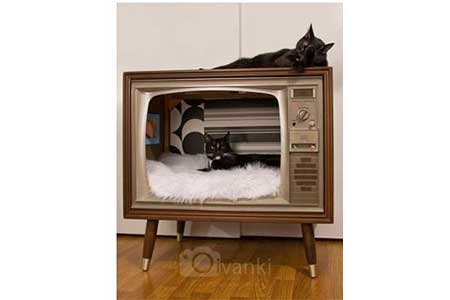
Has an old TV sat in your garage? This is the time you take it out and reuse it for something good. Now you can turn the old TV into a cat bed. Open the old TV from the back and remove the whole system carefully. Once the system is out, take the screen out carefully. After doing this, clean the TV.
Put a pillow or a rug in the base of the TV and secure the back with cardboard or any fabric. Put the TV on a table and your DIY vintage TV cat bed is ready to be used. Your cat would love sleeping inside this DIY cat bed and also on top of the TV.
Making a DIY cat bed is super easy and these tutorials have made our lives even easier. Follow the step-by-step instructions and your DIY cat bed will be ready in minutes. All it takes is a little elbow grease and You can customize these cat beds too.
DIY beds are easy and simple and the best thing about them is that they are very inexpensive. So make a DIY cat bed using My top picks and share the photo of your creation with me. I would love to see it!